 Igor RzegockiAdministration
Installing custom Linux on Raspberry Pi 2
April 19, 2015
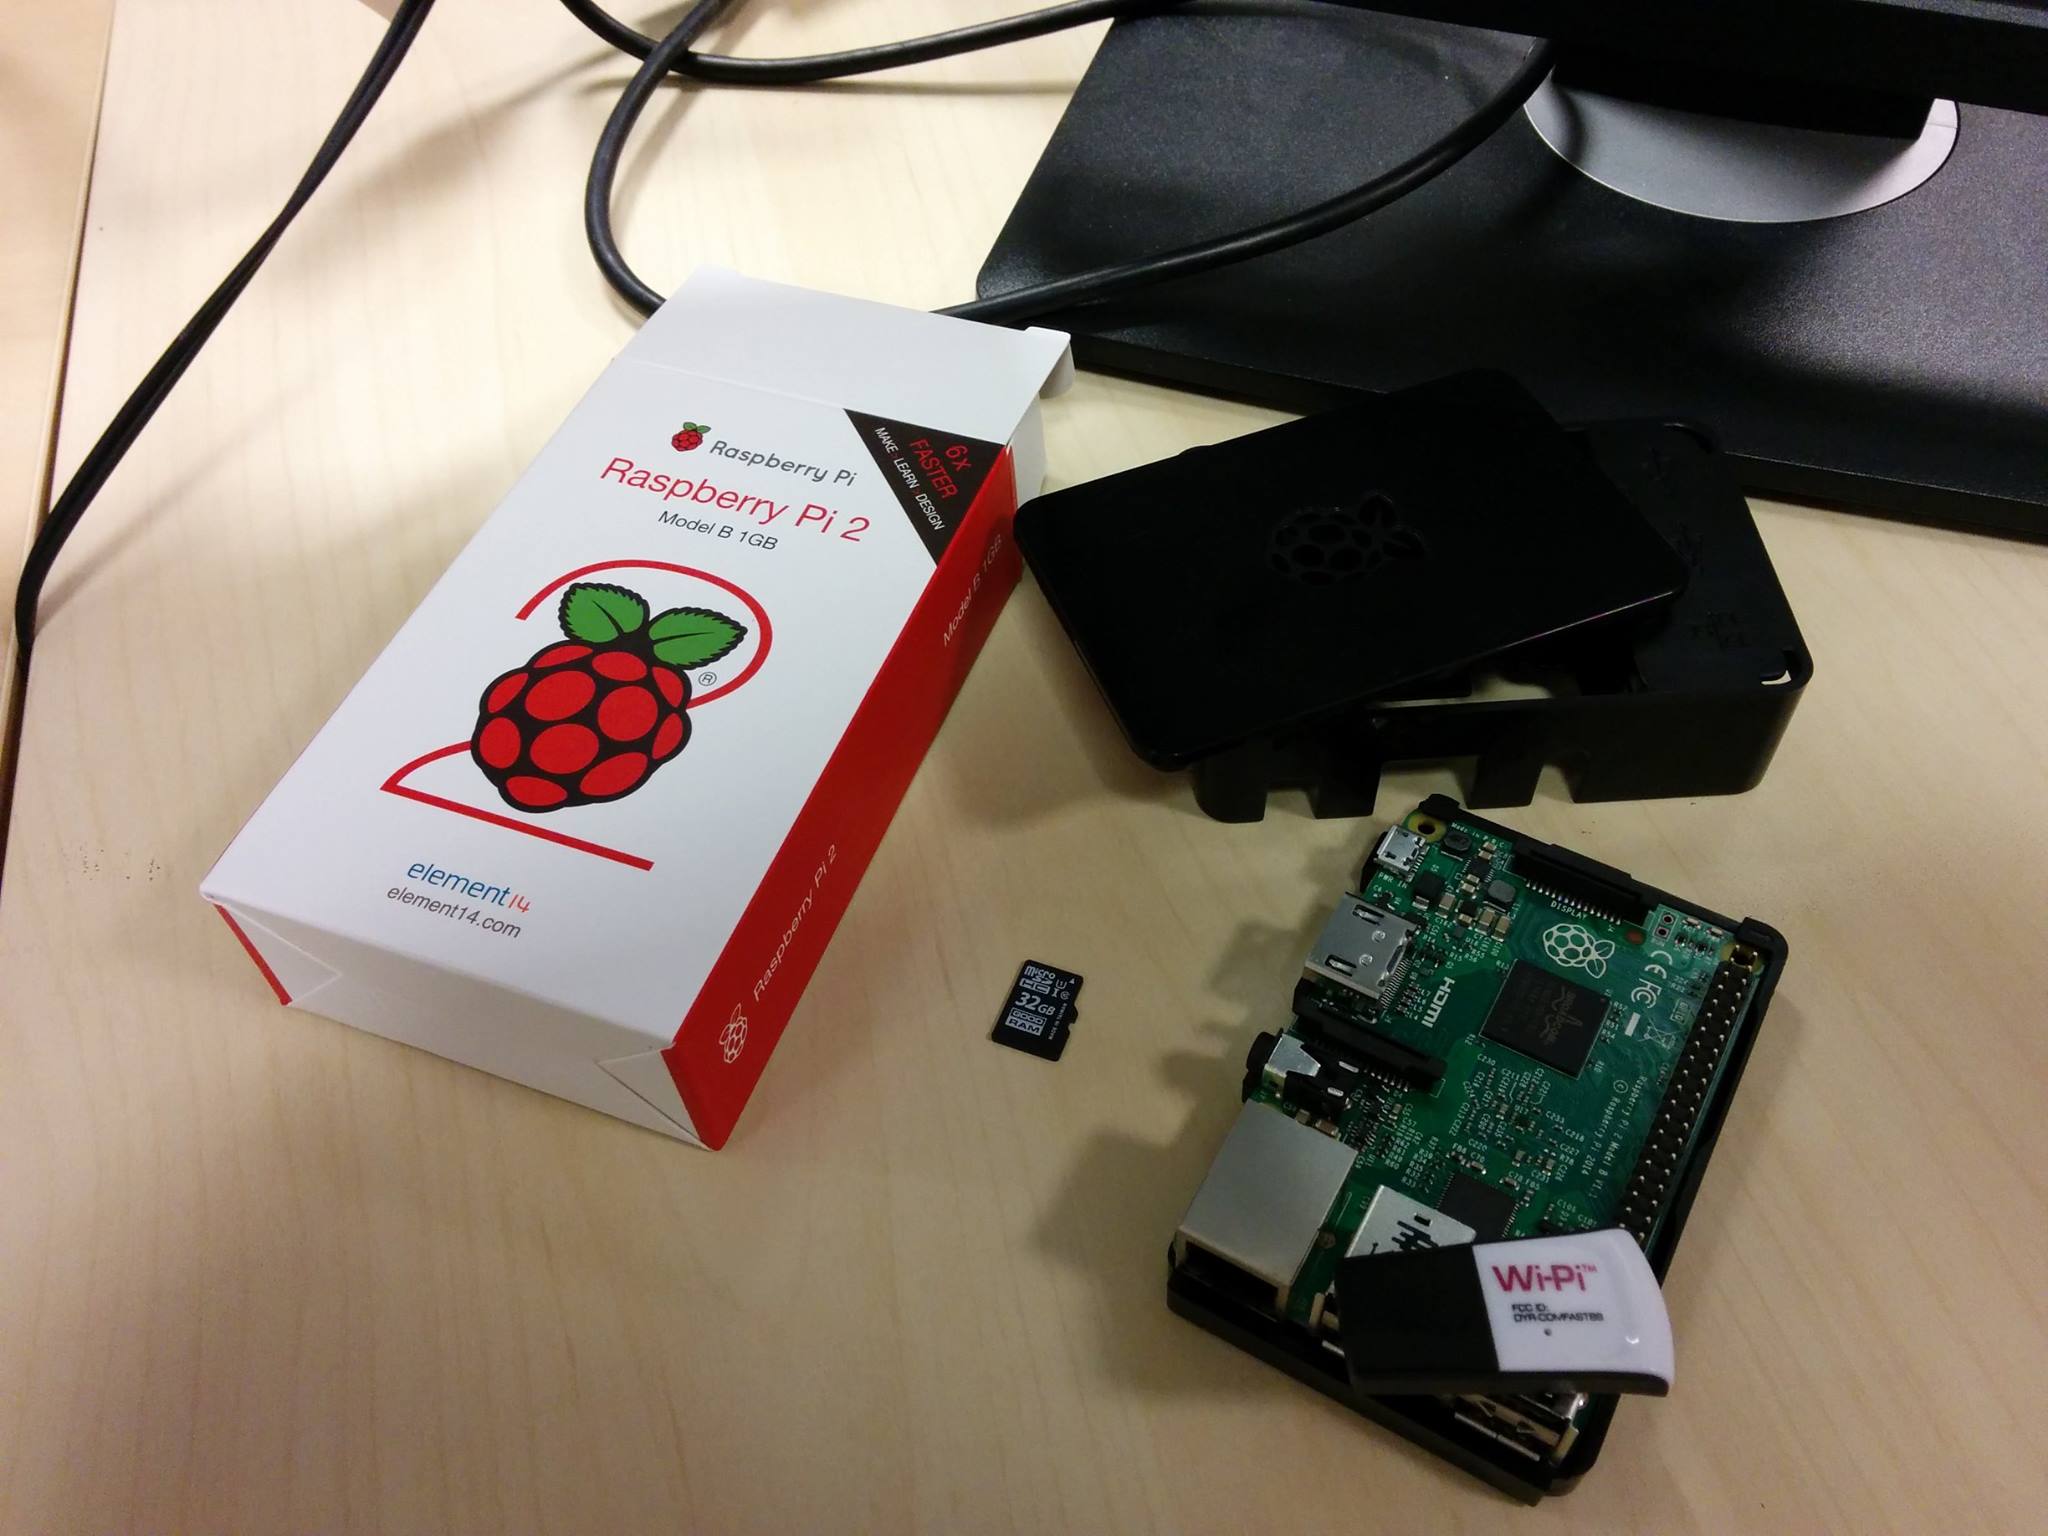
Few days ago, I gave myself a present, which (at the very beginning) I was planning to power up with OSMC and use it as HTPC. However, in a meantime I had to switch my apartment, and put my worn ATOM server offline for couple of hours - necessity I didn't like very much. This, and the fact that my server got very noisy (I suspected power supply fan) convinced me to start looking for something new. And then I thought - "Hey! I've got this awesome, little fella - I can attach Ethernet to it (or WiFi Dongle and LTE Hotspot from my phone) to it and never worry about noise or being offline again!". And I did, however installing custom Debian distribution, wasn't as trivial task as I expected...
At the outset
In theory, when following this guide, you don't need a monitor and keyboard to set up fully functional RPI2 Server. However they are very helpful, when something doesn't go as planned :-). This is especially truthful, when you are trying to set up WiFi networking and you are using some non-standard chipset WiFi dongle.
Setting up Vagrant
I strongly recommend, to use some kind of virtual machine, for this setup. This will save you from polluting your global system with packages, which you probably won't need anymore. The easiest solution is to use Vagrant with VirtualBox since they are both multi-platform and easy to set up.
vagrant init ubuntu/trusty64
vagrant up
vagrant ssh
sudo -s # Change user to rootcd /vagrant # Use a shared folder, all files created here will be visible outside of VMIf you do this, all code examples below (unless stated differently) will reflect to Vagrant root environment.
Preparing SDCard Filesystem
First of all, we need a properly partitioned image file, which later on we will copy to the SD card. Raspberry PI doesn't come with any kind of BIOS or low level boot-up system - everything is loaded directly from SD Card. Moreover RPI expects a FAT partition with firmware files at the very beginning of the SD Disk. But first things first - let's install all the necessary packages:
apt-get update
apt-get install -y git binfmt-support qemu qemu-user-static debootstrap kpartx lvm2 dosfstools
Now we can setup the initial partitioning.
dd if=/dev/zero of=rpi.img bs=1M count=768
losetup -f --show rpi.img # returns loop device used later, usually /dev/loop0
fdisk /dev/loop0
We need to create two partitions. As I mentioned, the first one needs to be FAT16 partition (type e), the second one
a Linux one (type 83). So, to do this in fdisk invoke:
n # Create new partition
p # Set it as primary...
1 # ...and first
[enter] # Start it from the beginning
+64M # And make it 64 Megabytes large (it is enough for the firmware)
t # Set partition type
e # to FAT16
n # Create new partition again
p # Set it as primary...
2 # ...and second
[enter] # Start when old partition ends...
[enter] # ...and use all available space
w # Write all changes to the image
Next step is mounting those partitions as virtual devices and make filesystems on them:
losetup -d /dev/loop0
kpartx -va rpi.img # This will create two /dev/mapper devices, usually loop0p1 and loop0p2
mkfs.fat /dev/mapper/loop0p1
mkfs.ext4 /dev/mapper/loop0p2
mkdir boot root
mount /dev/mapper/loop0p1 boot
mount /dev/mapper/loop0p2 root
If you have problems with partitioning the file using kpartx, try to move it outside from /vagrant dir to
some place in virtual filesystem (homedir is fine), follow this guide, and then copy .img file back to /vagrant.
Installing and configuring Debian
After that, we have two directories: boot which will contain all RPI Firmware, and root which will contain our
desired distro (Debian). Now, it's just a typical Debian bootstrapping. Since Raspberry Pi 2 finally
supports ARMv7, we can safely use Debian armhf architecture, and have all goodies like hardware floating points,
out of the box.
debootstrap --arch armhf --foreign wheezy root http://ftp.debian.org/debian/
cp /usr/bin/qemu-arm-static root/usr/bin/ # needed for syscall emulation
LANG=C chroot root /debootstrap/debootstrap --second-stage
chroot root /bin/bash -c "echo \"root:raspberry\" | chpasswd" # This will set root password to 'raspberry'
Next we need to set a minimal set of configuration files, to actually boot our disto.
Note: In code headers, I used absolute paths in relation to your RPI root directory, so if you want to set up
/etc/fstab you need to edit root/etc/fstab (if you followed this guide).
First is /etc/fstab which is used to mount initial partitions (boot and proc system).
/etc/fstab
proc            /proc           proc    defaults        0       0
/dev/mmcblk0p1  /boot           vfat    defaults        0       0
Next is hostname.
/etc/hostname
raspberrypi2/etc/hosts
127.0.0.1 raspberrypi2
::1 raspberrypi2
We also need to set up urls for Debian repositories, so we can download and manage system packages.
/etc/apt/sources.list
deb http://ftp.debian.org/debian/ wheezy main contrib non-freeInstalling Raspberry Pi firmware
You can do it manually, but I strongly recommend to use Hexxeh excellent tool.
mkdir -p root/lib/modules
curl -L --output /usr/bin/rpi-update https://raw.githubusercontent.com/Hexxeh/rpi-update/master/rpi-update
chmod +x /usr/bin/rpi-update
SKIP_BACKUP=1 UPDATE_SELF=0 BOOT_PATH=boot ROOT_PATH=root rpi-update
echo "dwc_otg.lpm_enable=0 console=ttyAMA0,115200 kgdboc=ttyAMA0,115200 console=tty1 root=/dev/mmcblk0p2 rootfstype=ext4 rw rootwait" > boot/cmdline.txt
And that's it! At this point, if you have a monitor, you can flash your SD Card, plug it in to your Raspberry, and see
if your Debian boots up. If you also have a keyboard, you should be able to log in to it as well, and do the following
steps from there. Otherwise, keep using your rpi.img.
Chrooting
You can skip this step, if you already booted up your system and configuring it from there.
Beforehand we need to mount /dev and /proc filesystems, to create a fully functional chrooted environment.
mount -t proc proc root/proc
mount --rbind /dev root/dev
Then, all is left is to simply type:
chroot root /bin/bashSetting up necessary configuration
At first, disable installation of recommended packages - for example, most of the time, we don't want 3/4 of Xserver while installing vim.
echo 'APT::Install-Recommends "0";' > /etc/apt/apt.conf.d/00norecommendsNext we need to setup a minimal dose of packages, which are necessary to use our distro — locales for
basic UTF8 language support, and openssh-server to allow us to actually sign in to the machine. I also
recommend to install ntp to avoid any timestamp-based confusions.
apt-get update
LANG=C apt-get install locales
echo "en_US.UTF-8 UTF-8" >> /etc/locale.gen
locale-gen
apt-get install openssh-server openssh-blacklist openssh-blacklist-extra ntp
If you plan, to configure your system with Ansible or some other auto-tool, it's also a good idea to install sudo, python and aptitude.
apt-get install sudo python aptitudeConfiguring network
Easiest case scenario is Ethernet with DHCP. Keep in mind, that if you don't plan to use ethernet at all (only WiFi),
you should skip this step, as it will slow down boot up of Pi significantly (the machine will try to establish ethernet
connection for over 60s). Otherwise, all you need to do is add following lines to /etc/network/interfaces:
/etc/network/interfaces on Raspberry
auto lo
iface lo inet loopback

auto eth0
iface eth0 inet dhcp
dns-nameservers 208.67.222.222 208.67.220.220
It's a good idea to force nameservers (i.e. to OpenDNS as in example above) - many providers, are setting default DNS servers to Google DNS, which is not the best choice.
To make dns-nameservers directive actually work, you would need a resolvconf package.
apt-get install resolvconfAnd that's it. It's getting more complicated if you want to configure a WiFi network as well.
Configuring Wi-Fi
In my case, I used a WiPi WiFi adapter. If you have a different one, you need to use a proper firmware instead of the one which I used.
At first, you need to install all necessary dependencies...
apt-get install firmware-ralink # Use your firmware driver here
apt-get install wireless-tools wpasupplicant
... and configure a network interface:
/etc/network/interfaces on Raspberry
# Add those lines at the end of the file

allow-hotplug wlan0
auto wlan0
iface wlan0 inet dhcp
dns-nameservers 208.67.222.222 208.67.220.220
wpa-conf /etc/wpa_supplicant/wpa_supplicant.conf
Last thing is configuring all networks you wish your Raspberry to connect. This is very convinient, if you plan to move your machine between home, work etc. - you can configure all trusted networks credentials, and later - just power on and be online.
/etc/wpa_supplicant/wpa_supplicant.conf on Raspberry
ctrl_interface=DIR=/var/run/wpa_supplicant GROUP=netdev
update_config=1

network={
    ssid="MyHomeNetwork"
    psk="MyHomePassword"
    id_str="home"
}

network={
    ssid="MyWorkNetwork"
    psk="MyWorkPassword"
    id_str="work"
}
Flashing
It's good idea, to do the cleanup after finishing the image.
apt-get autoremove --purge
apt-get clean
Now you can exit the chroot (and VM if you used it), and flash your SDCard. In OSX you can do this by:
diskutil list # Check for you SDCard disk number
diskutil umountDisk /dev/diskX # Where X is a disc number
sudo dd bs=1m if=rpi.img of=/dev/rdiskX
diskutil eject /dev/diskX
Notice, that for dd I'm using /dev/rdiskX instead of the /dev/diskX. It's because how OSX handles disk devices.
You can read more here
if you are intereseted.
In Linux it's as simple as typing:
sudo dd if=rpi.img of=/dev/sdX # Where X is a disk letterFinishing up
Put your card into your Raspberry and boot it up! If everything goes well, you should be able to SSH to it.
If you haven't use monitor and keyboard, you might end not knowing which IP address SSH to. The easiest solution for
this problem is use nmap to detect all open hosts in your subnet, then check which one responds to root user
with raspberry password.
nmap -p22 -oG - --open 192.168.0.0/24 | grep Host | awk '{print $2}' | sort | uniqDon't forget to change your root password (or disable root login at all) and to secure your system after you sign in! The next thing, you might notice is, that your Linux partition is pretty small (768MB). This is due to fact, that the original image was created as small as possible, to reduce flashing time. Thankfully, you can expand it pretty easily.
fdisk /dev/mmcblk0
# In fdisk
d # Delete partition...
2 # ... the linux partition (don't worry, you won't lose your data)
n # Create ...
p # ... primary partition ...
2 # number 2
[enter] # Start from the beginning of the free space (as the previous did) ...
[enter] # ... but end up filling all available space
w # write changes
# In shell
reboot # to make new partition visible for the system
resize2fs /dev/mmcblk0p2 # Resize filesystem to fill up whole partition space
Happy hacking!
[May 04 update] Debian Jessie
Few days ago, Debian Jessie came out. I checked this guide against it, and everything should work out of the box. However, few slight alterations are necessary:
- change
wheezytojessiein debootstrap phase and in/etc/apt/sources.listfile - the new
/etc/network/interfaces.dformat was introduced, so instead putting all of your newtork conf in one file, you can split it to separate files and them put in this directory (i.e./etc/network/interfaces.d/lo,etc/network/interfaces.d/wifietc.). - you might also have problems with
rootlogin via SSH, if so, setPermitRootLogin yesin/etc/ssh/sshd_config(but don't forget, to set it back tonowhen you finish configuration!).